Install & updates
Studio runs on your machine, on your GPU. The installer pulls the GPU service images, downloads the models, and builds the app; a second script puts it behind systemd so it comes up on boot; and Studio updates itself from a button in the UI.
What you need
- An NVIDIA CUDA GPU - Turing (RTX 20-series) or newer, with ~11-12 GB VRAMrecommended. The whole pipeline is GPU-bound, so VRAM is the real ceiling. No AMD, Intel, or Apple GPU - there’s no CUDA there.
- Linux, or Windows via WSL2 (not macOS). 32 GB RAM and ~100 GB of free SSD are comfortable - the models alone are several GB, and rendered media adds up.
- Docker + the nvidia-container-toolkit ↗, Node 20+, Python 3.11+, git, and ffmpeg. deploy/install-prereqs.sh can pull most of these for you.
deploy/doctor.shis the preflight: it checks the host for everything the app and the GPU services need and tells you what’s missing and where to get it. It does notinstall Docker or CUDA itself - that’s too OS-specific to do safely, especially on WSL.
Run the installer
Clone the repo and run the installer. It walks a confirmation prompt before it does anything heavy.
git clone https://github.com/AugustWasilowski/macu-studio
cd macu-studio
./deploy/install.sh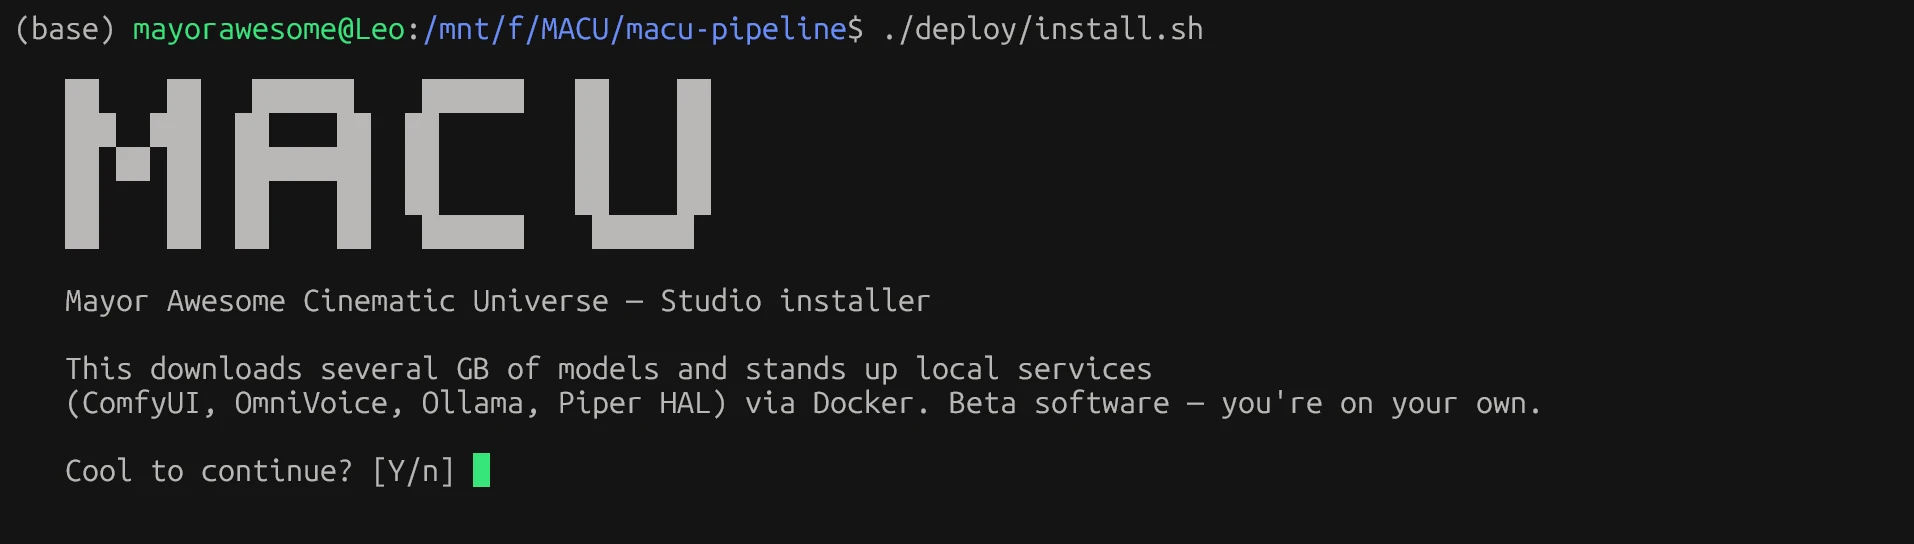
The installer runs in stages, each of which you can re-run safely:
- doctor.sh - preflight the hardware and prerequisites.
- install-prereqs.sh - pull any missing host packages.
- Pull the GPU service images - ComfyUI, OmniVoice, Ollama, and Piper HAL - via Docker.
- fetch-models.sh - download the model weights (~8 GB), each verified by size.
- Build the Studio frontend and backend.
Then start it and open the UI:
./deploy/start-studio.sh # then open http://localhost:8774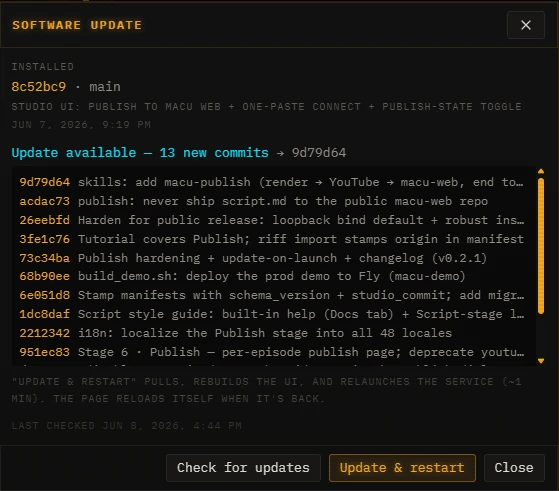
Run it on boot
To have Studio (and the render service) come up automatically as user systemd services, run the systemd installer once. It templates the units to your checkout and installs them.
sudo ./deploy/install-systemd.shAfter that, systemctl restart macu-studio restarts the app - handy whenever you change an environment value in .env, since the backend reads its config at boot.
The self-updater
Studio checks its own git history and surfaces a Software updatepanel in the UI when new commits are available. Each commit is listed with its message so you can see what’s changing before you take it.

- Check for updates re-reads the upstream main branch.
- Update & restartpulls the new commits, installs any new Python dependencies, rebuilds the frontend, and relaunches the service. It takes about a minute, and the page reloads itself when it’s back. (New backend features arrive fully wired - e.g. the /mcp agent endpoint and its SDK installed themselves this way; nothing manual.)